
by Avis Licht
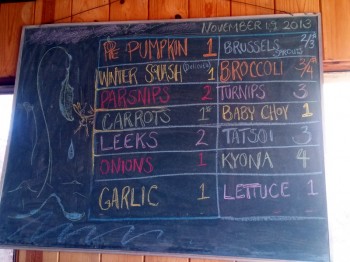
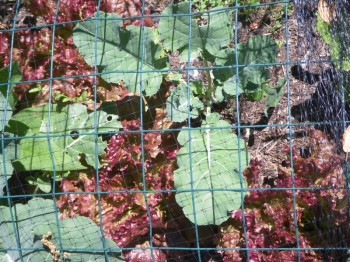
All the good food in a week’s box in Live Power Farm’s CSA
Last winter I went to visit Live Power Community Farm, in Covelo, California. This farm is part of a movement called Community Supported Agriculture, or CSA, for short. The idea for this model, is that the people who eat the food support the farmers by guaranteeing them a fee for the food every week, so that the farmer is not left out on a limb of growing and then not knowing who will buy their food. This model shares the risk involved with farming and allows the farmers to get on with their job of growing the best food possible.
Live Power Community Farm, the first CSA in California, is a unique model of how to sustain a farm through the power of relationship, community and a transformative economic model. In effect, the community of people eating from the farm are not simply buying food, but also partnering with the farmers to sustain the farm. They deliver to the San Francisco Bay Area from May to November.

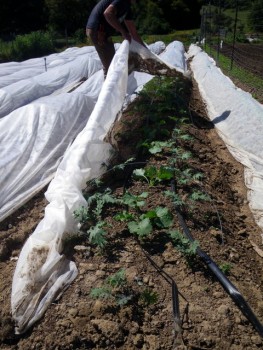
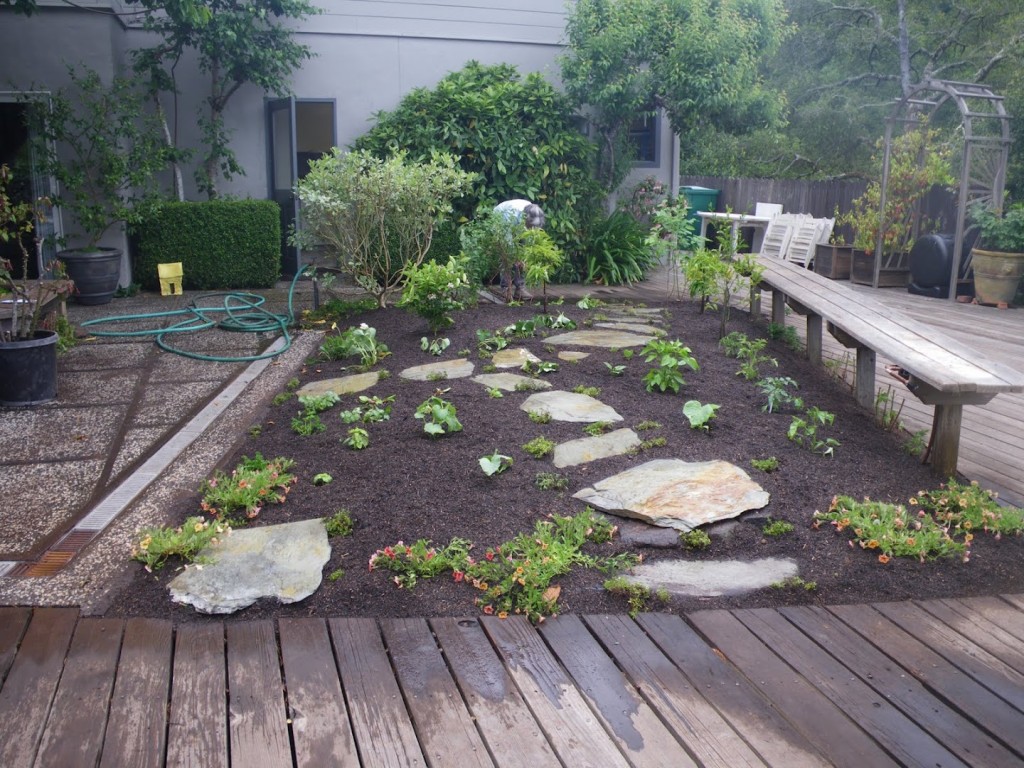
Using draft horses and old fashioned plows, the Decaters, gently work the soil.
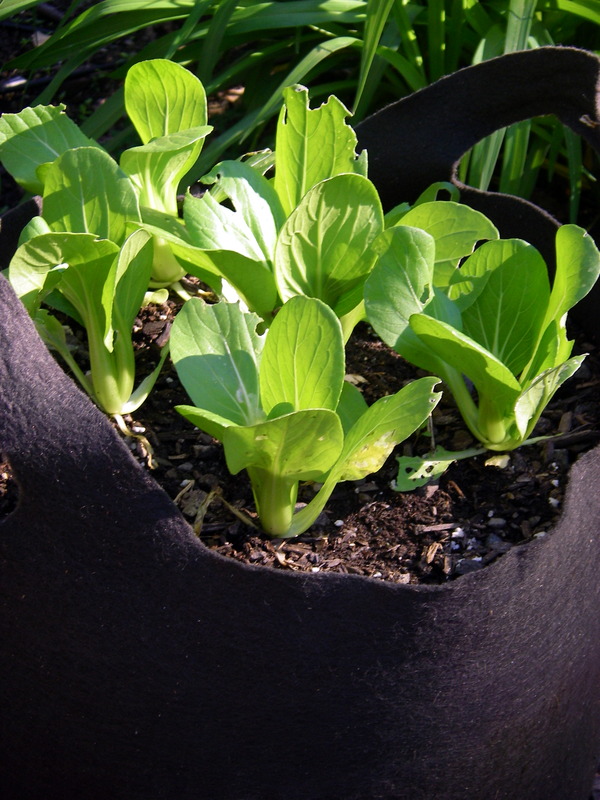
And did I mention: all of the vegetables taste fantastic! They’ve been picked usually less than a day before they arrive in your basket. You get to try new foods and always eat what’s in season. Particularly rewarding, you and your children can get to know the farmers and can even visit the farm (located in Covelo, Mendocino County).
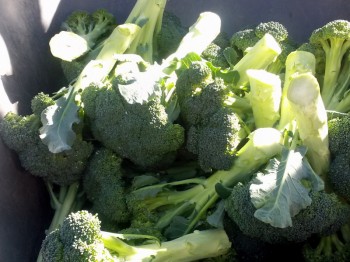
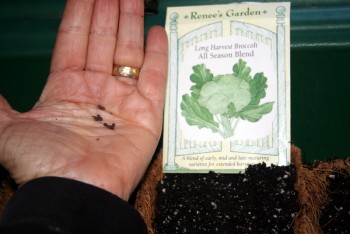
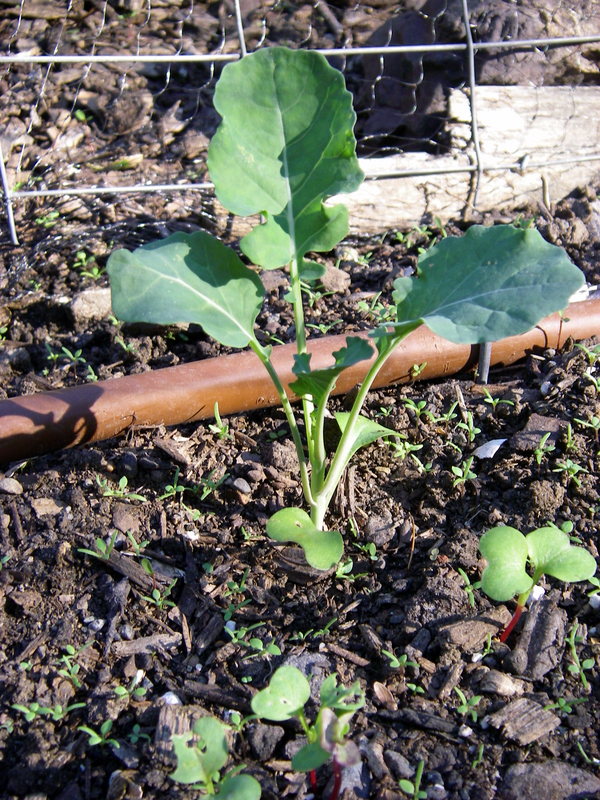
Gorgeous, beautiful broccoli, fresh from the farm to you
For a list of the projected and actual quantities and varieties of vegetables received last year, please go to http://www.livepower.org/csa-
If you have any questions, please feel free to call one of the delightful farmers, Gloria Decater, at (707) 983-8196 or livepower@livepower.org or one of the SF Bay area members, Amy Belkora at 415-596-2866 or abelkora@gmail.com
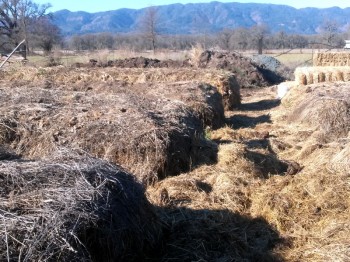
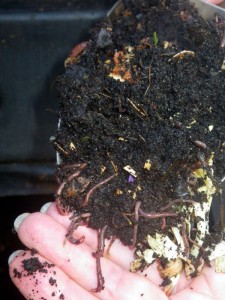
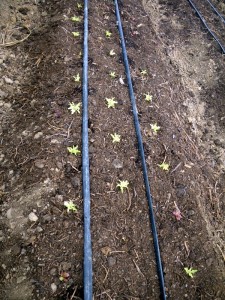
Row after row of compost, from their farm, feeds the soil and powers their food.


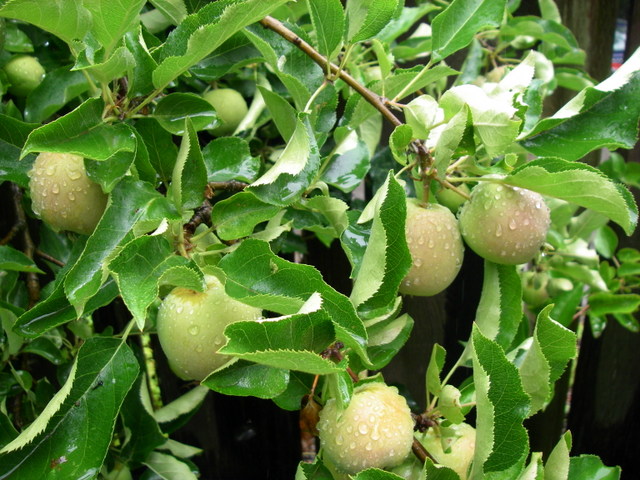
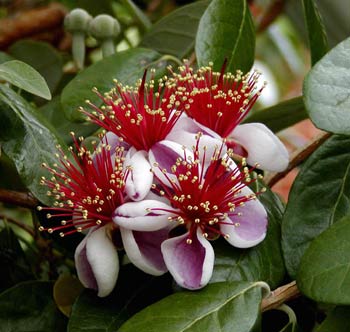 See these pretty pink petals? They are edible. Just gently pull them off and leave the rest of the flower so that it turns into fruit. The petals are really delicious. Take my word for it.


 Follow


