by Avis Licht
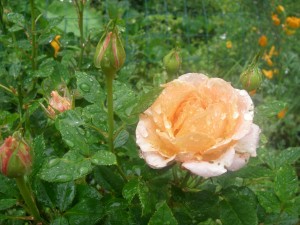
I have many favorite times of the year in the garden. What’s looking beautiful, (Roses in late Spring) what smells great, (Lilacs and Jasmine in early Spring), what’s ripe (everything in every season!), how the ground smells after a rain. Almost every day brings something new to enjoy in the garden. BUT, I have to say the Spring Equinox holds the most promise and excitement for me.
After the dark and cold of winter, (which was not very dark or cold this year), the excitement of Spring, with its promise of buds, new leaves, green hills, even the weeds jumping for joy out of the earth, holds a special place in my heart. If ever there was a time for Hope, this is it. The sun rises a little earlier each day and sets a little later. There is more light, more growth, more Potential – for the garden and for us. Change happens in spite of us, and sometimes hopefully, because of us.
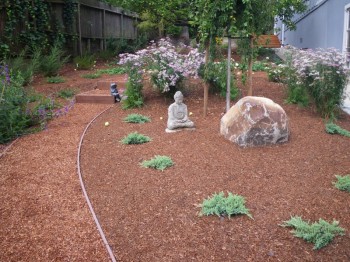
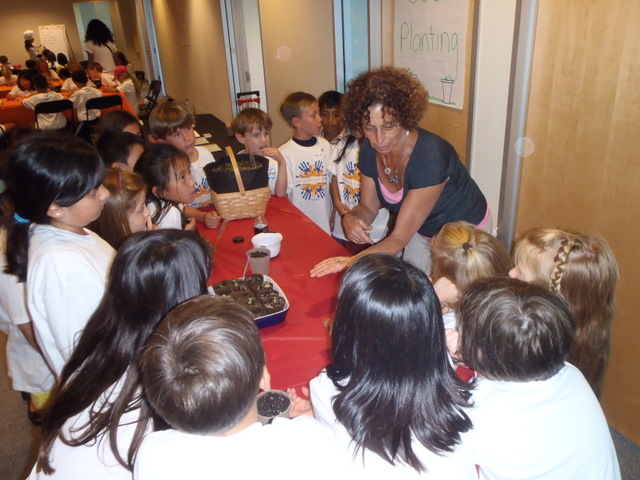
Here are a few photos from my Equinoxial Garden. HAPPY SPRING. Let’s get growing!
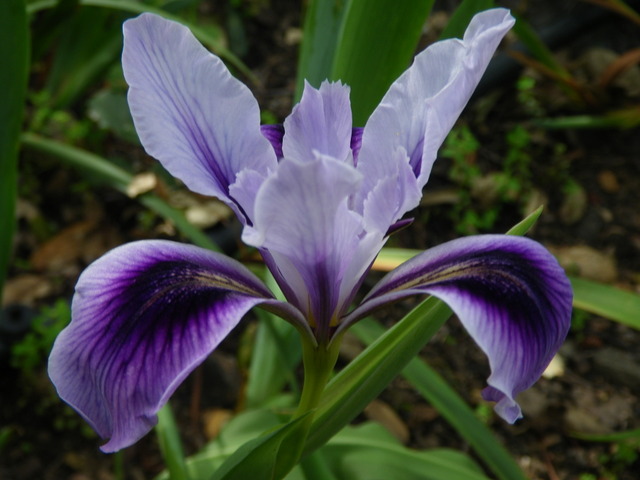
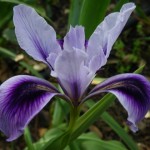
This Douglas Iris is native to the California Coast. I love it.
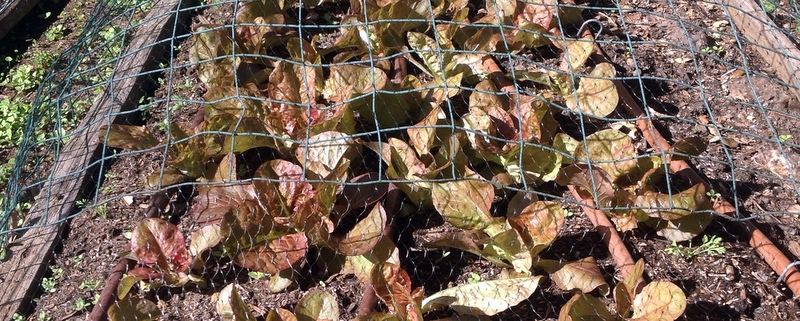
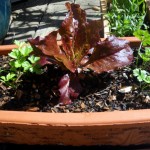
Marvel of Four Seasons Lettuce – under protection from the birds.
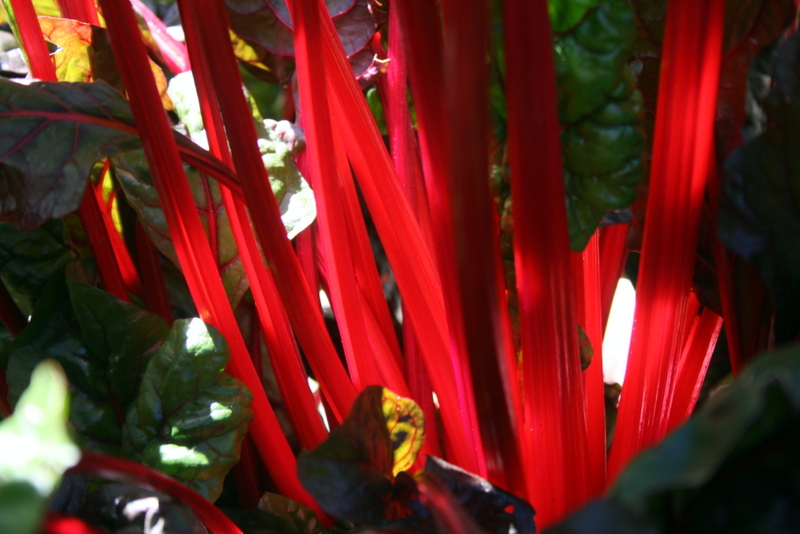
Rays of red light are rainbow chard stalks
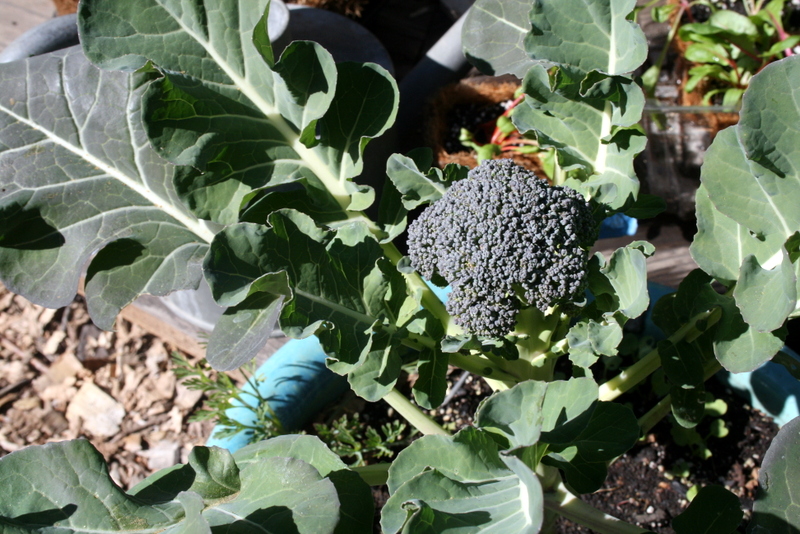
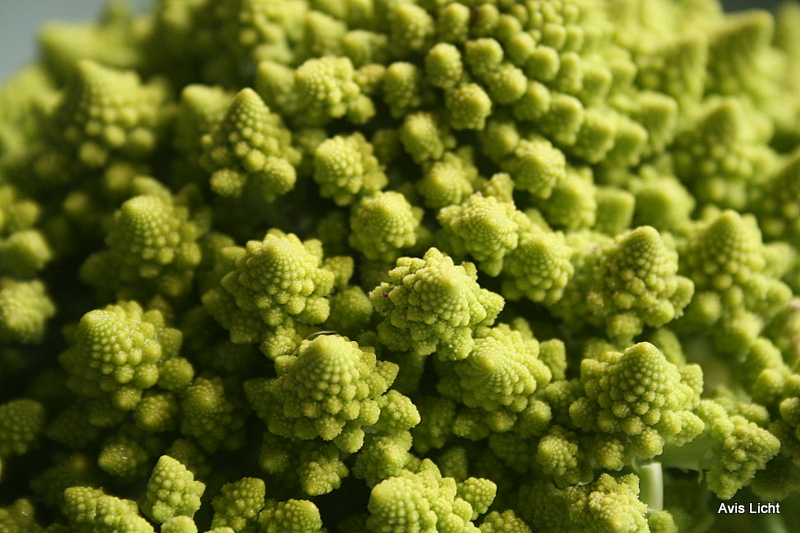
Broccoli in a pot. Even the smallest patio can have beautiful vegetables.
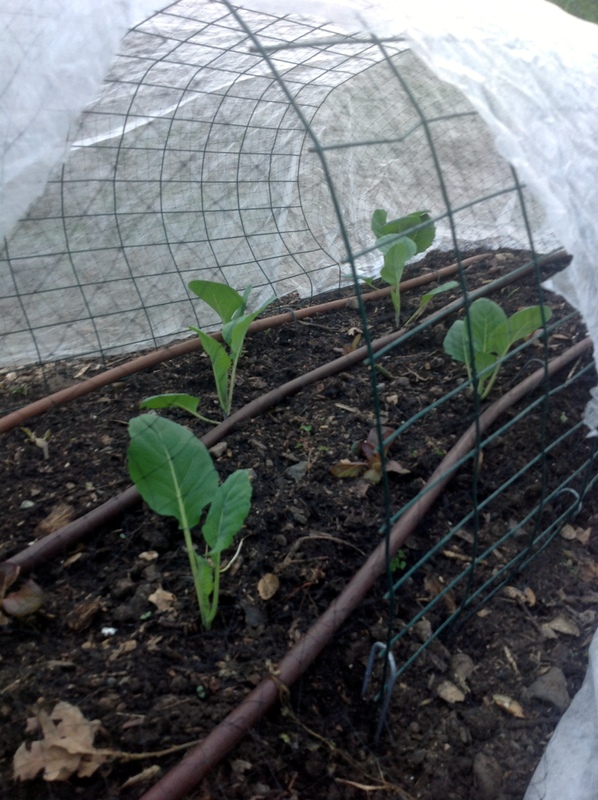
My broccoli babies. In warm weather you can cover your beds with row covers, and irrigate with drip irrigation
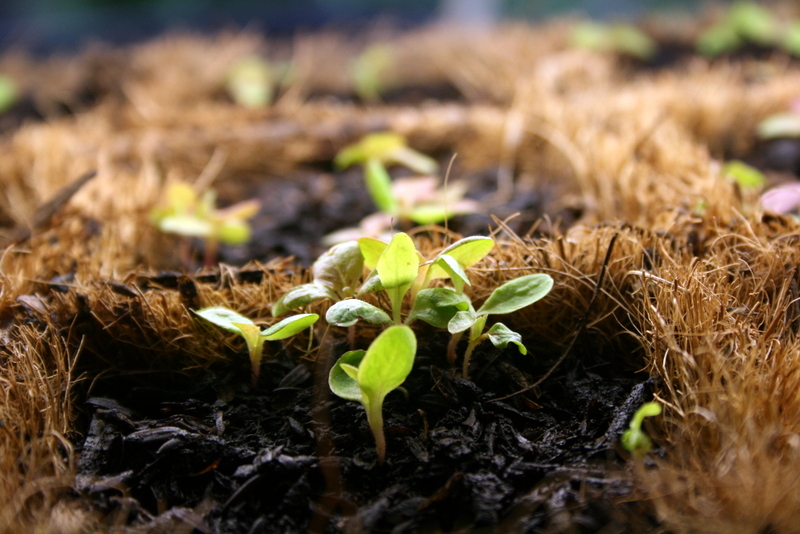
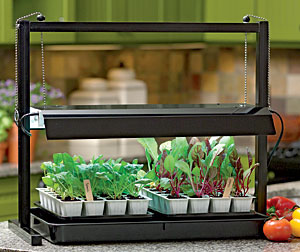
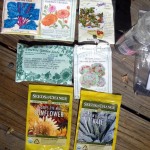
Seedlings get started early under grow lights.
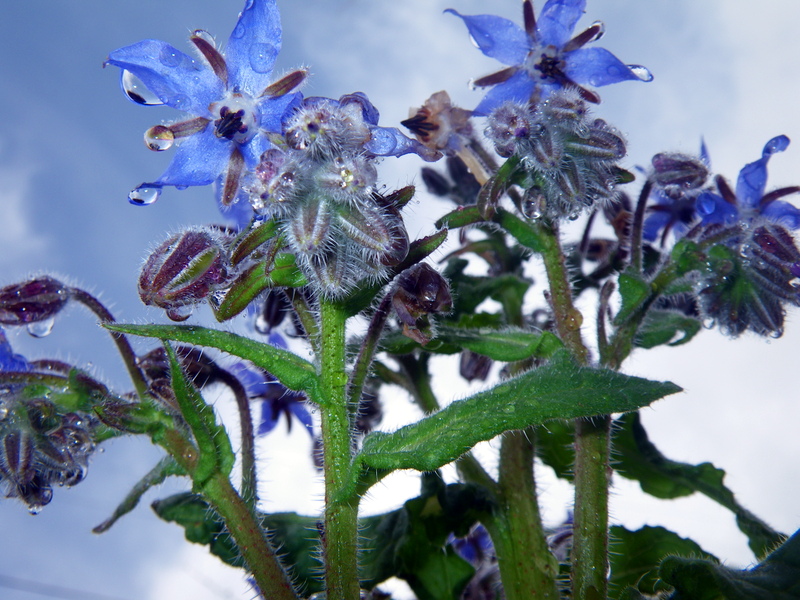
Borage in the rain


 Follow