by Avis Licht
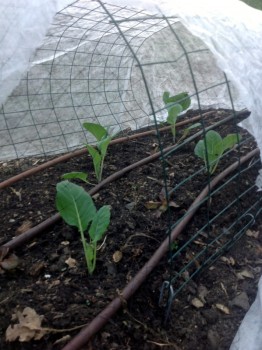
In warm weather you can cover your beds with row covers, and irrigate with drip irrigation
California is in its fourth year of devastating drought. All of us need to pay attention to our water use. But this does not mean that we have to give up growing some of our own food. Quite to the contrary, we can grow fruit and vegetables with much less water at home than large scale agriculture.
I have just come back from a road trip that took me to the east side of the Sierra Nevada mountains and then south to the Kern River and across the San Joaquin Valley, the agricultural center of California. It was an eye opener for many reasons. Owens Lake held significant water until 1924, when much of the Owens River was diverted into the Los Angeles Aqueduct, causing Owens Lake to dry up.[2] Today, some of the flow of the river has been restored, and the lake now contains a little bit of water. Nevertheless, as of 2013, it is the largest single source of dust pollution in the United States.[3]
To learn more about this read Cadillac Desert by Marc Reisner. Each action we take to conserve water, DOES make a difference.
We saw large reservoirs that were at 5 percent of capacity. Nearly empty. We saw farmers using huge machinery to take out fully grown orange trees and throw them on the ground to die because they don’t have enough water for irrigation. It was unbelievably sad to see.
But there are ways for you to grow food, that are water conserving and healthy for the environment and for you.
Here are 5 easy ways to conserve water for your garden and grow delicious food. Good for you and good for the earth.
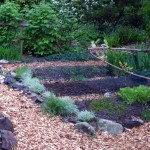
1.Prepare the ground by loosening the soil and adding humus, in the form of compost and/or manure. The quality and health of the soil is vitally import to the health of your plants. Compacted soil will not absorb or retain water very well. This is a very underrated activity for water conservation. Building raised beds with wood or stone and then filling with organic topsoil is one way to do this. Another way is to dig the soil and add humus.
Raised beds make for a healthy soil
2. Create paths and walkways through your garden. DO NOT WALK ON YOUR BEDS! I mean it. The fastest way to ruin your soil is to walk on it and compress it. You remove the air pockets and prevent air and water percolation. Try it. Step on the ground and water it. It will puddle and then most of the water will evaporate. Trust me on this.
3. Mulch, mulch, mulch. Oh, and did I say mulch? Yes, this makes a huge difference in the evaporation rate of water through the soil surface. There are many kinds of mulch. Read about them here.
4. Plant some of your smaller herbs and veggies in pots and containers. When a pot is close to the house, it is easy to remember to water and you can use the left over water from the sink, or the shower. I have had great success with herbs, carrots, lettuce, and peppers in containers. You can use self watering containers that let you go away for weeks at a time without worrying about your plants drying out.
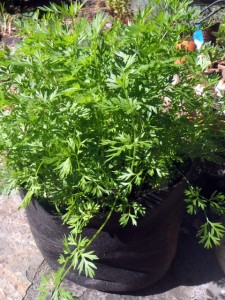
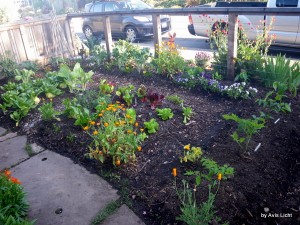
A good harvest in a small place, with very little water.
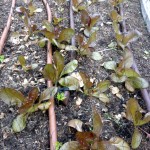
5. Drip irrigation is the easiest and uses the least water of any method of irrigation. Done well, it puts the right amount of water directly to the roots of the plants and has the least evaporation rates. Check out the book by Robert Kourik on Drip Irrigation. It’s great. Combine drip with a water controller and weather station and you will be golden for putting the right amount of water on at the right time. Many water districts give rebates on these controllers.
There are other ways to gather, store and conserve water in the garden. These are five easy ways to start. Don’t worry, I’ll talk about more ways to save water in future blogs. Right now, it’s important to get started from the ground up, so to speak.
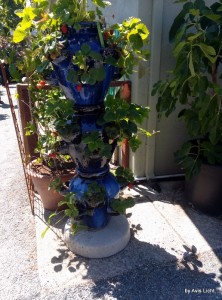
The water at the top drips down to the plants at the bottom. Great use of space and water.
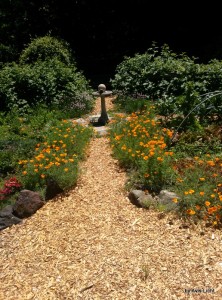
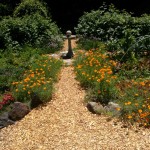
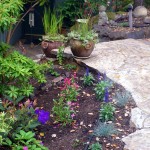
Enter the Edible Landscape using a PATH.


 Follow