Mar 202015
 

Rose in the Rain

by Avis Licht

I have many favorite times of the year in the garden. What’s looking beautiful, (Roses in late Spring) what smells great, (Lilacs and Jasmine in early Spring), what’s ripe (everything in every season!), how the ground smells after a rain. Almost every day brings something new to enjoy in the garden. BUT, I have to say the Spring Equinox holds the most promise and excitement for me.

After the dark and cold of winter, (which was not very dark or cold this year), the excitement of Spring, with its promise of buds, new leaves, green hills, even the weeds jumping for joy out of the earth, holds a special place in my heart.  If ever there was a time for Hope, this is it. The sun rises a little earlier each day and sets a little later. There is more light, more growth, more Potential – for the garden and for us. Change happens in spite of us, and sometimes hopefully, because of us.

Here are a few photos from my Equinoxial Garden. HAPPY SPRING.  Let’s get growing!

Douglas Iris

This Douglas Iris is native to the California Coast. I love it.

Lettuce

Marvel of Four Seasons Lettuce – under protection from the birds.

Chard Stalks

Rays of red light are rainbow chard stalks

Broccoli

Broccoli in a pot. Even the smallest patio can have beautiful vegetables.


row cover and drip irrigation

My broccoli babies. In warm weather you can cover your beds with row covers, and irrigate with drip irrigation

Lettuce seedlings under grow lights

Seedlings get started early under grow lights.


Borage in the rain

Borage in the rain


Dec 212012
 

by Avis Licht 

Mother Earth

Whether seen from the perspective from space or our own little garden, we still need to take good care of our mother earth.

As far as we know there is still only one of these for us to live on: together, all the peoples of the earth.  Today, December 21, 2012, is the shortest day of the year in the northern latitudes. The longest night.  Out of darkness is born the hope of summer and light. No matter how stupidly we humans behave, the light always comes back.

Gardeners by nature are an optimistic lot.  They have to be.  When you take a tiny seed and put it in the ground, planning, waiting, expecting a seedling to come up despite numerous obstacles, like slugs, snails, earwigs, birds, and so many more possibilities for failure, you have to have a heart of determination to succeed. So in spite of the horrific tragedy in the shootings of small, innocent children, in spite of the wars, and fighting that go on around the world, where many innocent children and civilians are hurt and killed, I call on the deepest part of my heart to remain positive that the light will prevail.

Let us sow seeds and plant trees in honor of the fallen.

Let us take care of these seedlings and trees to remember and honor those for whom they are planted.

Let the food you grow in your garden be a sacrament to feed your family and neighbors.

Let the work in your garden encourage you to take care of those in need around you.

Every day now, there are a few more minutes of light. Each small step we take towards a positive future will bring us closer to that vision we hold.

Into the garden

Into the Garden

MAY YOUR HOLIDAYS BE FILLED WITH HOPE AND LIGHT


Oct 192012
 
lettuce

by Avis Licht

In Northern California where I live, we can grow many crops over the winter. I’m getting my seedlings in for the Fall and Winter garden.  In this slide show I’m planting lettuce seedlings.  I’ll show you how to gently pry to roots apart and plant them to reduce shock.

Getting the soil ready is an important part of growing healthy plants. In my book The Spring Garden Made Easy, I set forth a simple, straightforward guide to planting that you can use in any season. Check it out!

[portfolio_slideshow]

Using a group of seedlings

Take a clump of seedlings

Gently break apart in half

Gently break apart in half

Open hole and let roots dangle straight down into opening

Open hole and let roots dangle straight down into opening

Firm in gently around the leaves

Firm in gently around the leaves

Water in gently to settle the roots and get the plants going.

Water in gently to settle the roots and get the plants going.

After they are planted you need to make sure they don’t dry out. Check the soil for moisture if it doesn’t rain. Just looking at the surface of the soil doesn’t tell you if it’s moist underneath.  Check with a trowel down a few inches.  If it’s dry at 2 inches or if the plants are wilting, be sure to water them.

You can find out more about extending your season in this article on row covers.

Mar 262012
 
Lettuce and parsley in a pot

Herbs and lettuce grow well in pots on the deck.

by Avis Licht

In other posts I’ve written about seeds; where to get them, and how to sow them. Now that they’ve turned into sturdy little seedlings, I’ll show you how to plant them.

1. First thing is to make sure your bed is ready for the seedlings.  This means that the soil should be worked up into a fine tilth so that it is soft and crumbles easily off your trowel. Add whatever amendments you have at hand, like compost, bone meal or manure into the soil before you transplant your seedlings.

2. Depending on how your seeds were started, you will either take them out of their little six packs, or as in the case of these photos, from a bunch of seeds sown in a container.

Pulling apart lettuce seedlings

Gently open the root ball to separate the seedlings (click to enlarge)

Lettuce seedlings

Hold your seedlings gently (click to enlarge)


Keep separating the seedlings until you have them one at a time. Lay them so that the roots are straight down, not crunched up. Gently hold the leaf, open up a hole deep enough to let the roots dangle straight down and not get crunched up. (if you get my drift).  Slowly let the soil back into the hole to cover the roots. Gently firm in the soil around the crown of the seedlings.  You want the roots too make contact with the soil, but not rip the roots by pressing too hard.

Firm in the soil

Gently press the soil around the seedling. (Click to enlarge)

Hold by the leaf and let the roots dangle

Gently hold the leaf and dangle the roots (click to enlarge)


Keep the soil below the crown of the leaf so that it doesn’t rot. Be sure to water in your seedlings.  Put the water at the base of the plant slowly so that the water seeps into the soil.  This will allow the roots to make contact with the soil and get moisture. If roots are not in contact with the soil, but are in air holes, they will dry out.

It’s best to plant into moist soil that crumbles in your hand, not too wet and not too dry.

A bed of lettuce

Closely planted lettuce in Spring

lettuce newly planted

This seedling will start growing immediately


After they are planted you need to make sure they don’t dry out. Check the soil for moisture if it doesn’t rain. Just looking at the surface of the soil doesn’t tell you if it’s moist underneath.  Check with a trowel down a few inches.  If it’s dry at 2 inches or if the plants are wilting, be sure to water them.

Don’t forget to take your walkabout in the garden to keep an eye on your seedlings.  If anyone is causing trouble, like birds or snails, you’ll want to catch them right away. Now all you have to do is be a little patient, then the eating begins.

I took this photo this morning after a gentle rain.

rain on strawberry blossoms

It's late March and the strawberries are starting to blossom

Feb 082012
 
New plantings in the spring garden


by Avis Licht  –

New plantings in the spring garden

Pots near the kitchen are great for herbs


Early Spring is the time for gardeners to get ready for their early vegetable garden.Here are a few things to think about to help you get started.

SITE

1. Pick a place near the house for your vegetable garden so that you will see it everyday. Out of site is out mind for most people. Visit your garden for at least 10 minutes a day and you will keep up with the maintenance and see how plants are doing.  You’ll discover if there are any problems before it’s too late.

2. Pick a sunny site that gets at least 6 hours of sun. Most vegetables need this amount to grow well.

3. Make sure there’s water near by for irrigating.

SIZE

Raised bed gardening

Easy to reach, easy to plant, easy harvest, it's a raised bed

1. Keep it Small and Simple, as the saying goes. First time gardeners should start small and be successful.  Graduate to a larger plot next year. A couple of beds, 3 ft x 6 ft, will give plenty of delicious vegetables.

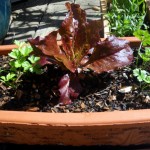
2. Consider growing your herbs in pots near the kitchen where they are easy to harvest.

SOIL

1.Whatever kind of soil you  have, be sure to loosen it and add compost. By aerating your soil and adding humus you will increase oxygen, nutrients and drainage, which will help your plants grow. You can loosen your soil by digging, rototilling or bringing in topsoil and adding it to a raised bed.

2. Check your soil for drainage. If you see standing water on the surface, or if you dig a hole and there is water in the bottom, you need to make some adjustments. Vegetables don’t like to grow in standing water.  There are several ways to improve drainage.  Dig into the hard soil with a digging fork and loosen it. Raised beds provide better drainage. You can also dig a small ditch and direct it away from the growing area. This will help move water away and improve your soil.

3. Create paths for walking in the garden.  Every time you walk on the soil you compact it. This prevents air and water from entering. Just by using paths and not walking on the beds you will increase the health of your soil and your plants.

CHOOSE YOUR VEGETABLES WISELY

Choose your plants wisely

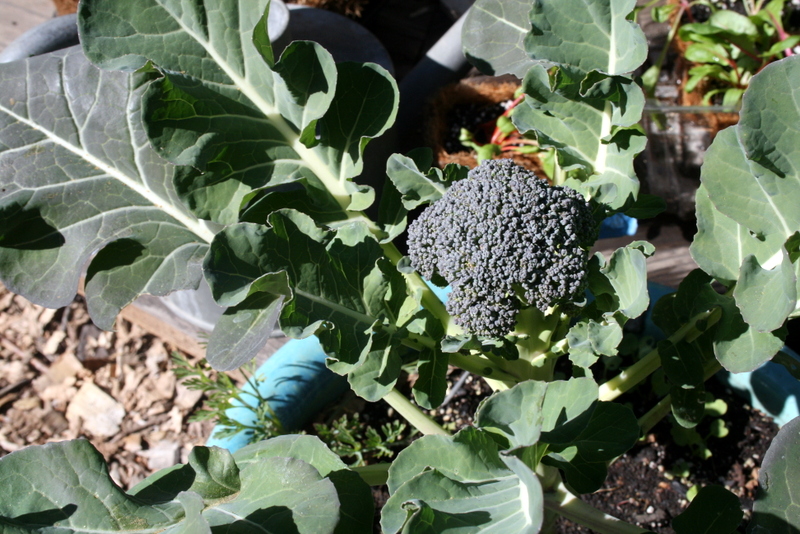
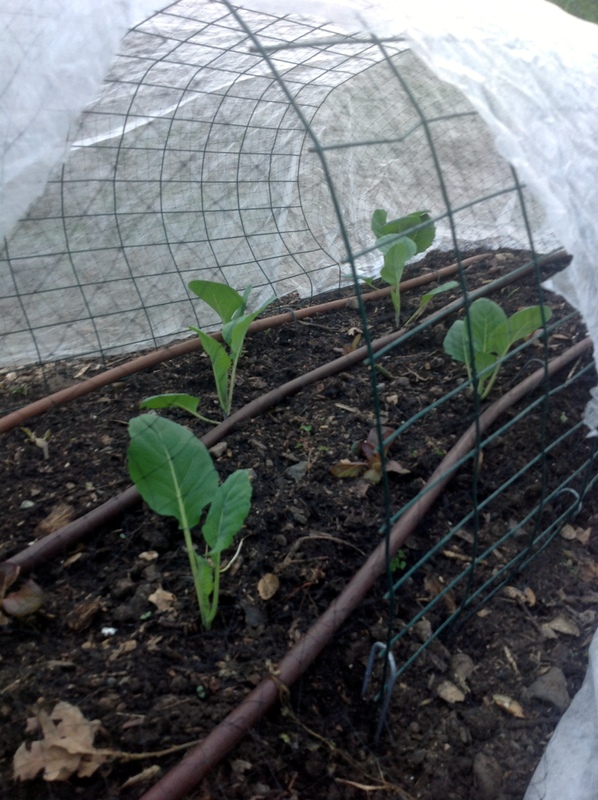
Early spring you can sow and plant broccoli, cabbage, cauliflower

1. Choose your favorite foods to grow. Zucchinis are easy to grow, but if you don’t like them, don’t grow them! Peas, carrots, beans and tomatoes taste better when harvested ripe and fresh. They are easy to grow and harvest.

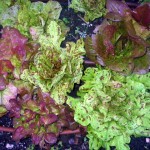
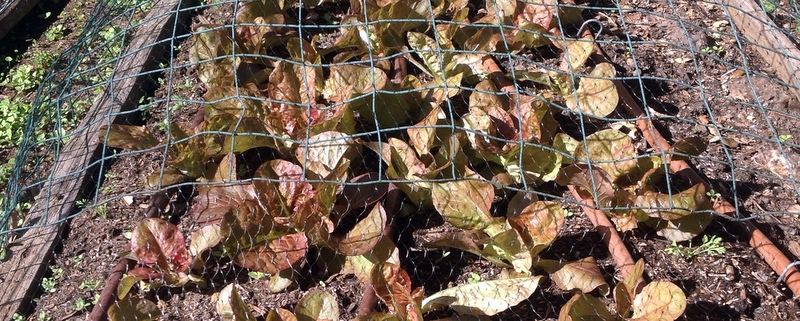
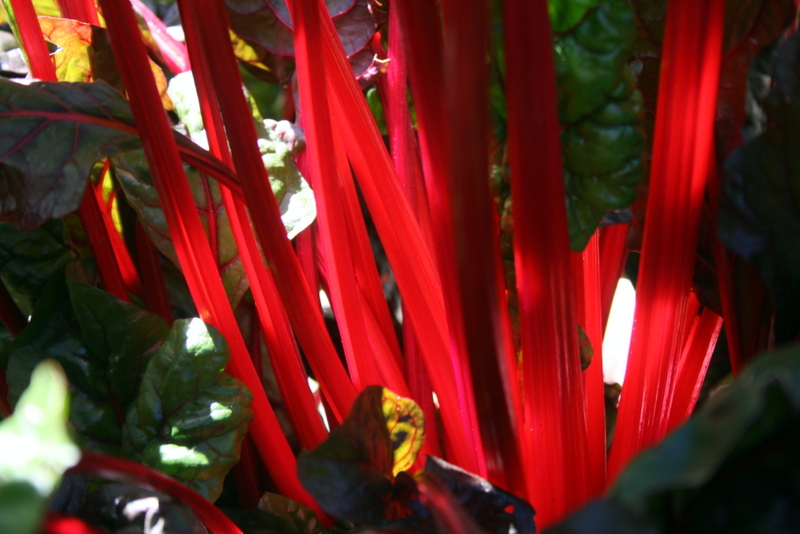
2. Choose what grows best in your climate and your site. If you’re in the cool Northwest  U.S. you might want to pass up on the hot peppers and melons.  Cooler climates are good for broccoli, cabbage, lettuce, spinach, chard and kale. If you’re in a hot climate go for the peppers, melons, squash and eggplant.

3. Look for micro climates in your garden to give you more opportunities to grow plants that you might otherwise leave out. A micro climate will be a place that is sunnier ( on the south side of the house), cooler (on the north side), calmer (on the lea side of a fence or windbreak), shadier (under a tree) and so on. Check out your garden for mini climates.

RESOURCES

1.Your local nurseries will be carrying plants appropriate for your climate.  Ask them questions.

2. For the Western United States, consult Sunset Western Gardening Book.  It is amazing in it’s information for so many regions in the West.

3. Seed Catalogs and Online companies. Check out my list in the resource page.

Raised beds

Double dug beds are raised and need no edging


© 2011-2024 Edible Landscaping Made Easy With Avis Licht All Rights Reserved