by Avis Licht

Sowing seeds and germinating in the kitchen window
Seeds, though small in size are a force of nature. They carry the future in their tiny form. All the information to grow a might oak is in that tiny acorn. In nature, every seed is slightly different and allows for the possibility of change: sometimes better, sometimes worse than it’s parent. Depending on the conditions after sprouting, a seed can grow strong and healthy or be weak. Like a person with a strong immune system, a healthy plant can withstand disease and attack by pests.

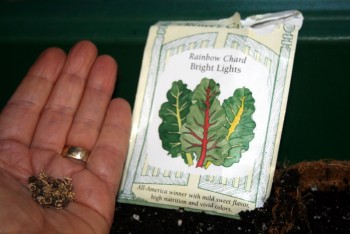
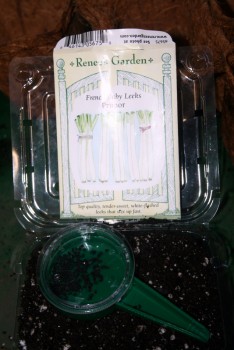
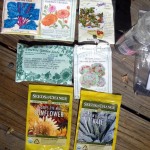
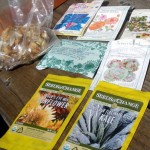
Get seed from organic, reputable seed companies
I’m not going to get into a discussion here about hybrid seeds or GMO, but allow me the premise that healthy plants produce healthy seed and it is to your benefit to choose seed from reputable companies that sell healthy, organic seeds.
It is then up to you to make sure you give those seeds the right growing conditions: from the soil you use to plant them, to the sun and warmth for sprouting. In this post you’ll learn how to mix your soil, sow seed, cover it and water it. It sounds simple, and is, but there are a few basic things you can do to assure success.

Earthworm castings are a wonderful medium for starting seeds

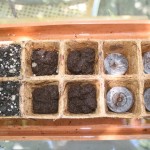
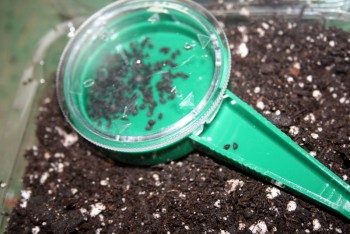
Clean, light medium for starting seed is a good idea
1. Choose your seeds: Pick the right plant for your climate it and sow it at the right time. Pick your favorite veggies and see if they are appropriate for your climate and the size of your garden. You can do this by googling your plant, reading seed packets, or talking to your gardening neighbors. They often have the best information. In the U.S. you can get a lot of information at this site, SmartGardener.com by typing in your zip code.
2.Mix your seed starting medium: Seeds have enough energy in them to germinate and grow their first true leaves. After that they need some, but not a lot of nutrition in their sprouting medium. We can call this needing breakfast. I mix my own compost or earthworm castings in with a medium like the Seed Starter from E.B. Organics. This starter is sphagnum moss, perlite, and gypsum. It is clean, light and has no real nutrient. Seeds will germinate and send roots quickly into the medium. By mixing it with a little compost or earthworm castings you will add “breakfast”.

Put the seed medium into container and tamp it down.

Mix different materials in a container
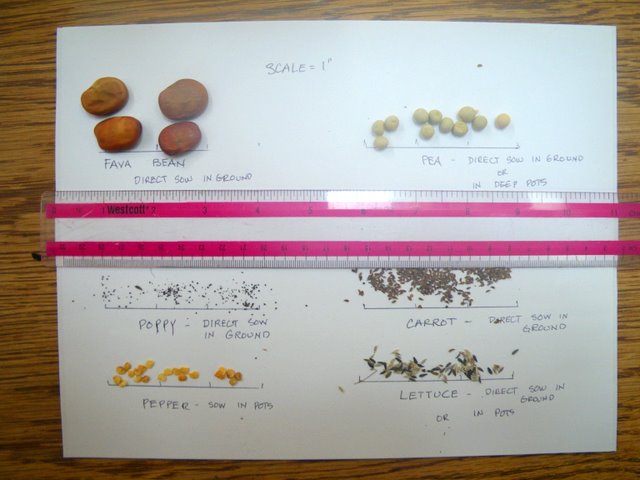
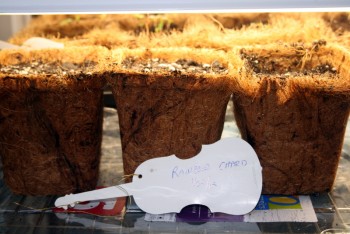
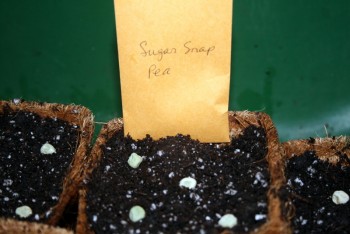
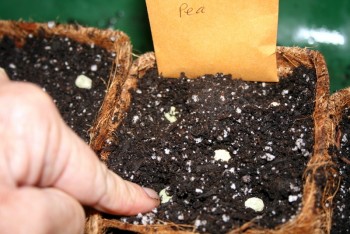
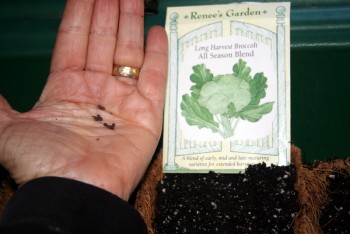
3. Sow your seeds on the surface. In the small six packs (recycled, of course from previous use), I put 2 seeds per section. In the larger 2 inch pots I put 4 seeds per pot, and in the 4 inch container I put 6 – 8 seeds. I use the larger pots for quick germinating larger plants, like chard and broccoli. I use the smaller pots for lettuce, spinach, bok choy and smaller plants. Lightly cover the seeds. The smaller the seed, the less soil on top. Your seed packet will tell you how deep to cover your seed.
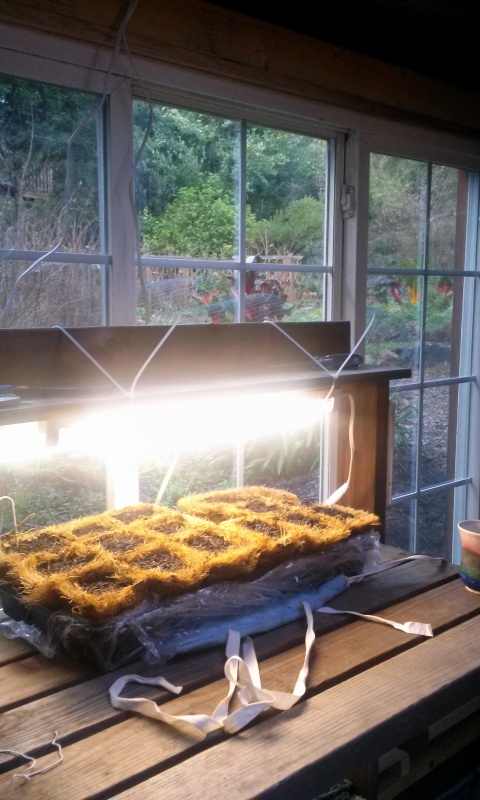
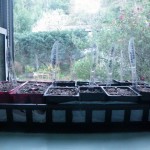
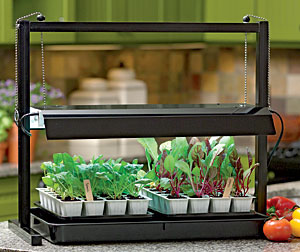
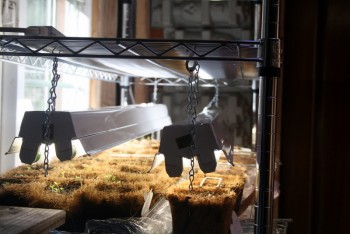
Using flourecent lights and a heating pad, seeds get an early start
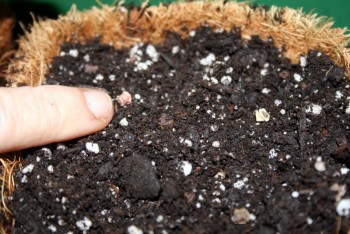
4. Lightly water your seeds. A heavy flow of water will displace your seeds. Use the lightest setting on your watering wand, a light sprinkling can or a spray bottle. Be sure that your medium is moist before you put the seed in it. You want it moist, but not soaking wet. Seeds need to be kept moist until germination. If they are in the sun, be sure to water them a few times a day.
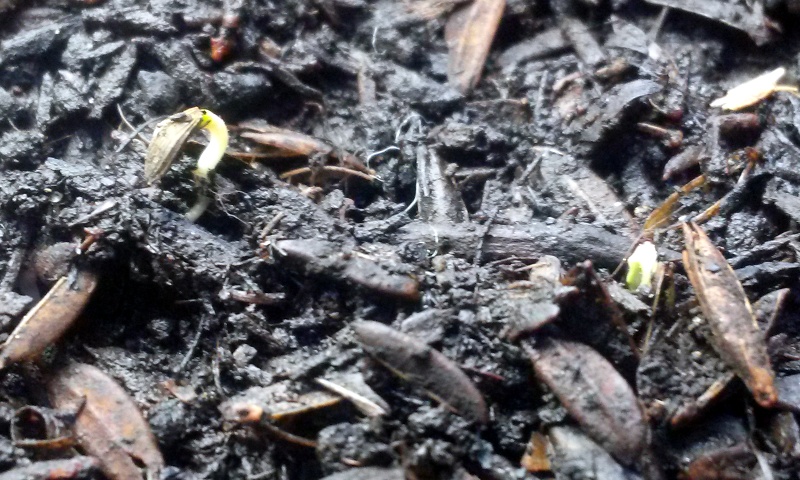
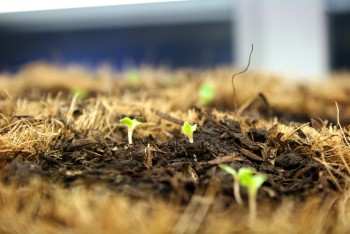
Tiny seeds need to be on the surface of the soil, and watered gently.

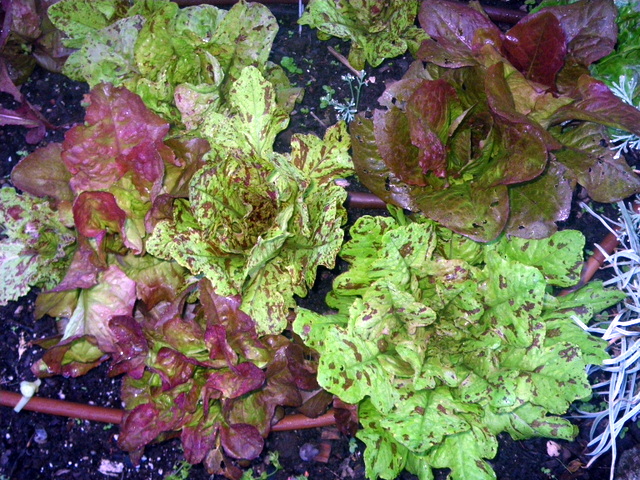
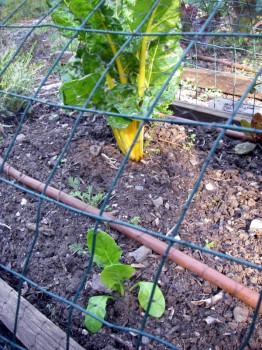
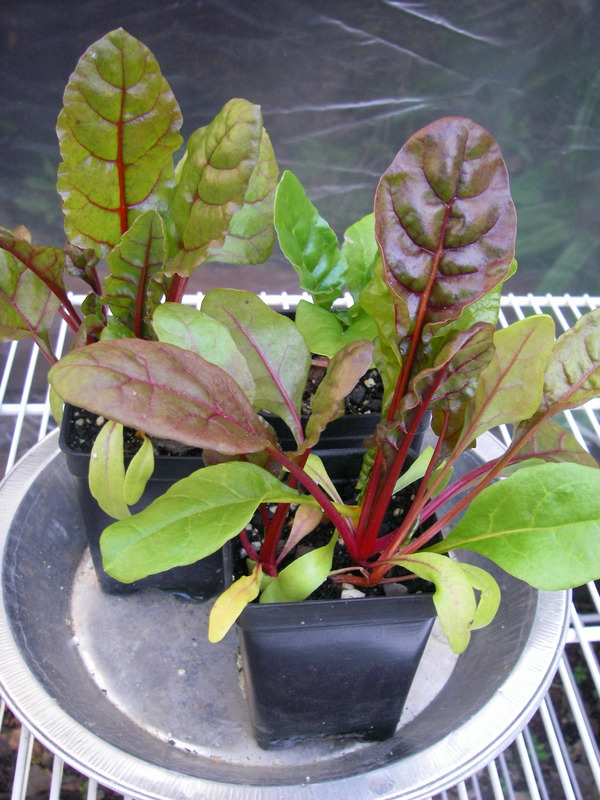
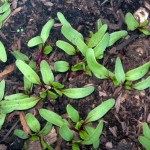
Seedlings this size are ready for planting outside
Next step will be how to prepare your garden beds. We’ll talk about that tomorrow.
You’re ready to grow wonderful, delicious food in your edible landscape. Whether you have pots on the deck, a few square feet, or an entire yard for growing, only do as much as you can happily take care of. Remember, you’re trying to enjoy this project.

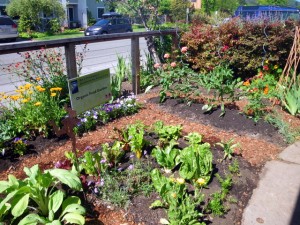
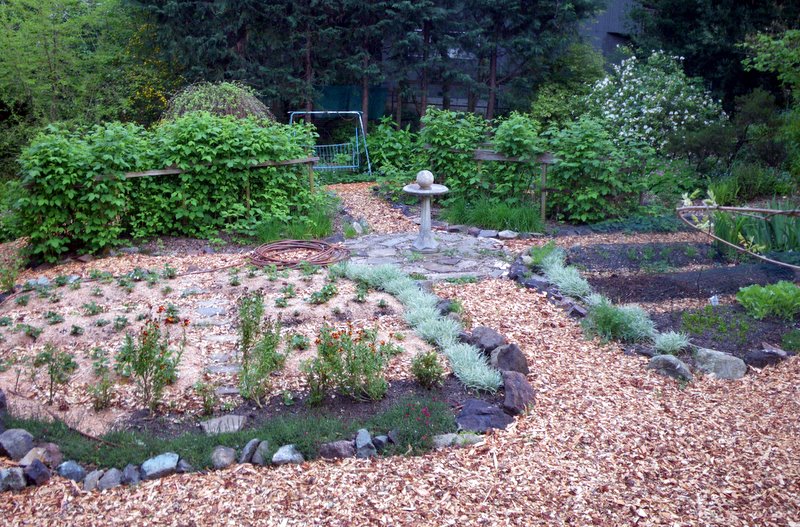
A vegetable garden doesn’t have to be square


 Follow