

by Avis Licht

A cover crop is an area of planting that is sown for the purpose of improving the soil and keeping the ground “covered” to prevent erosion.
The right plant can:
- Increase the organic matter content of the soil
- Increase the availability of nutrients
- Improve the soil’s tilth, which is the texture of the soil
- Reduce weeds by choking out undesirable plants
- Reduce soil pests
- Enhance the soil’s biological activity.
Fava beans are one of my favorite cover crops. You can sow them late in the Fall even in cold weather.
Fava beans germinate quickly and grow even faster. You can use the tops for compost, eat the beans, and when you’re done with the plants you can leave the roots in the ground. Fava beans will have put more nitrogen into the soil than it takes out. I mean, this is a plant that keeps on giving.
It’s not a good idea to leave any areas of your garden bare in the winter. Rain will compact the soil. The ground is subject to erosion and leaching of nutrients when nothing is growing. I sowed my Fava Beans in November and 3 weeks later they were over 8 inches tall. The moral here is better late than never.
In the Spring, when you’re ready to plant your veggies, you can cut down the fava beans even if you don’t harvest the bean for eating. It will make an excellent addition to your compost pile and leave the soil in better condition.
Once we’ve got our garden planted, we can sit back and welcome winter back again.
And while you’re relaxing around the fire, it’s time to start perusing those beautiful seed and plant catalogs for Spring and even get a leg up on your spring garden with my ebook, The Spring Garden Made Easy.
|
To help you get started on your Spring Garden, there’s plenty of good advice in my ebook: The Spring Garden Made Easy. It’s only $4.99. If you’ve gotten useful information from my blog,here’s a way to keep me going. Thanks for reading. Be sure to leave a comment and let me know if you have any questions or suggestions. I love to hear from you |
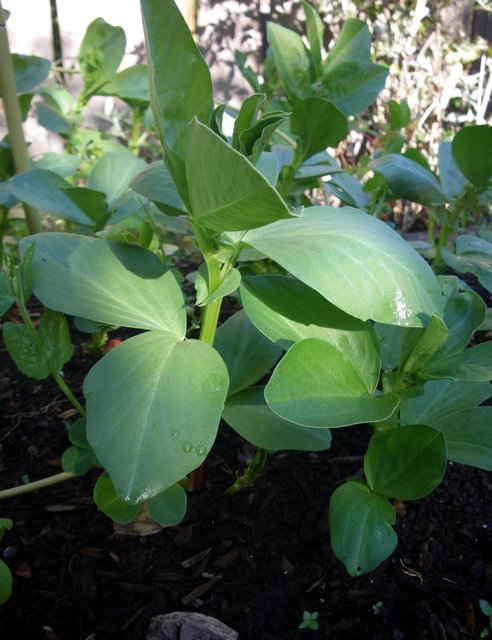
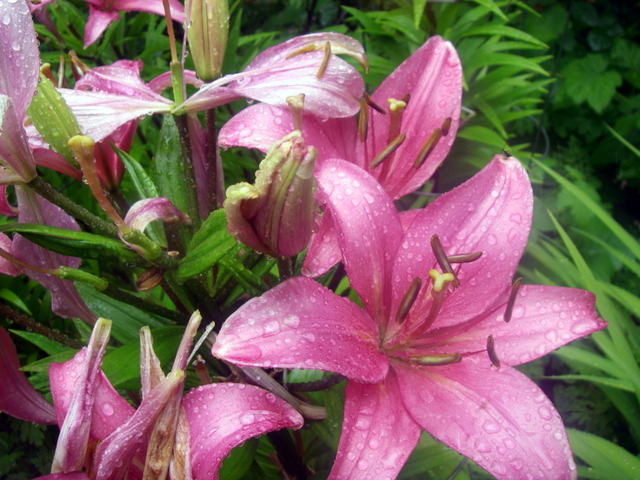
Bell beans grow all winter long

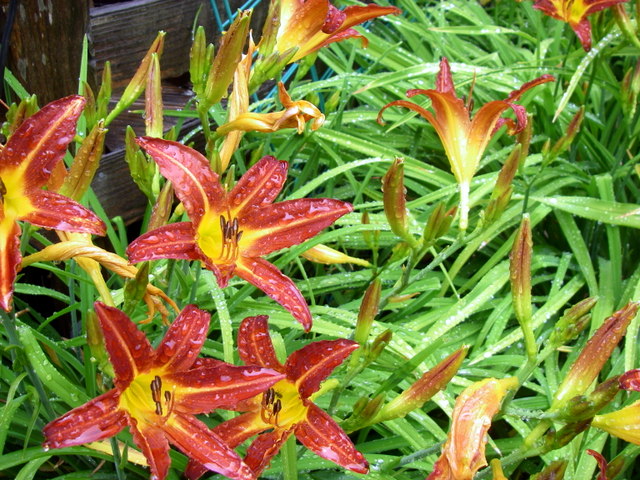
The summer vegetables are gone and it’s ready for fava beans as a cover crop


 Follow


